Google+

contact us

Use the form on the right to contact us.

Day or Night, we are here to serve you. Leave your plumbing problem to us.


Tinley Park, IL

(708)845-7922

Residential and Commercial plumbers and plumbing contractors available in Orland Park, Tinley Park, Oak Lawn, Palos Heights, Midlothian, Oak Forest, Homer Glen, Mokena, Frankfort, and the surrounding Chicago South Suburbs. Emergency plumbers.

copper water lines.jpg

Kevin Szabo Jr Plumbing Blog

Kevin Szabo Jr Plumbing is Tinley Park, Orland Park, Oak Forest, Midlothian, Orland Hill, Homer Glen, Mokena, Frankfort, Crestwood, Palos Heights, Oak Lawn, local plumber. Read our blog for advice, tips, a good laugh, and basic home improvement.

**We are moving our old blog to our new and improved website. Too see all our posts visit kevinszabojrplumbing.blogspot.com

Filtering by Category: January 2023

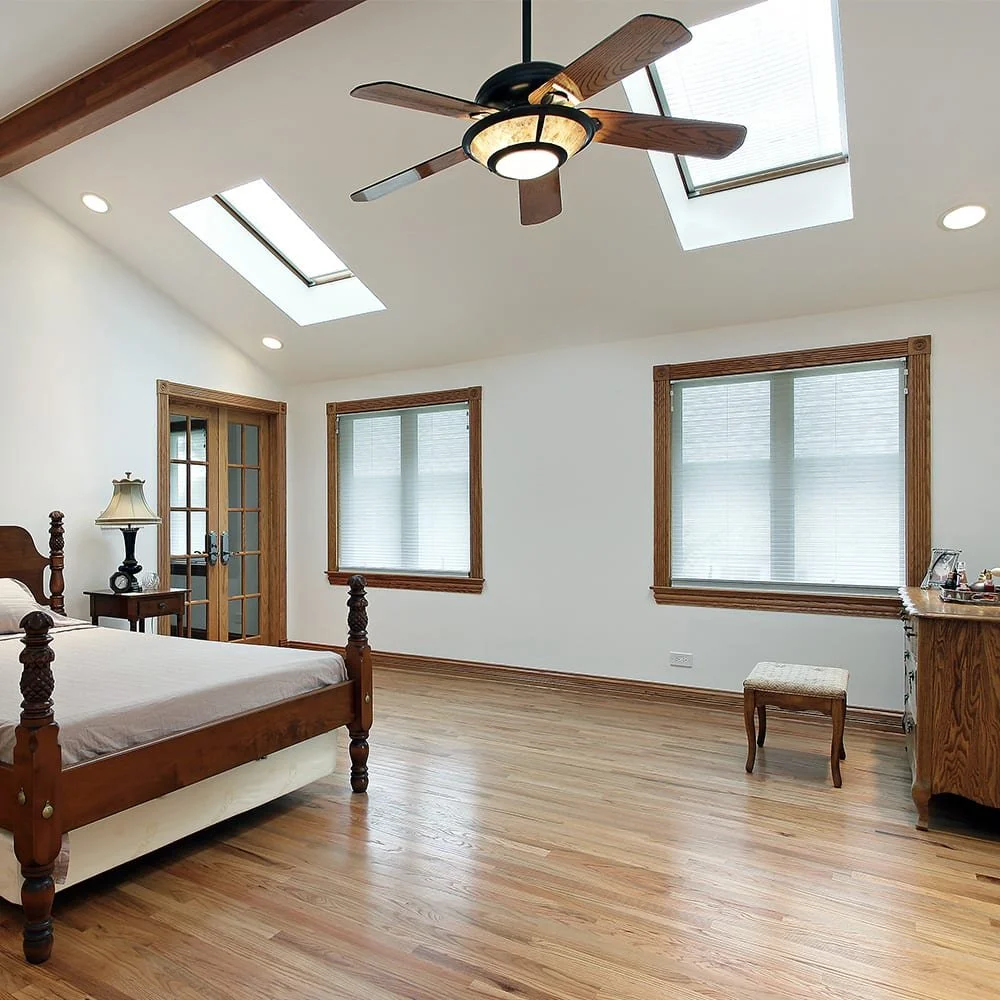
How To Increase Home Energy Efficiency with Simple Upgrades?

RH Business Marketing Solutions

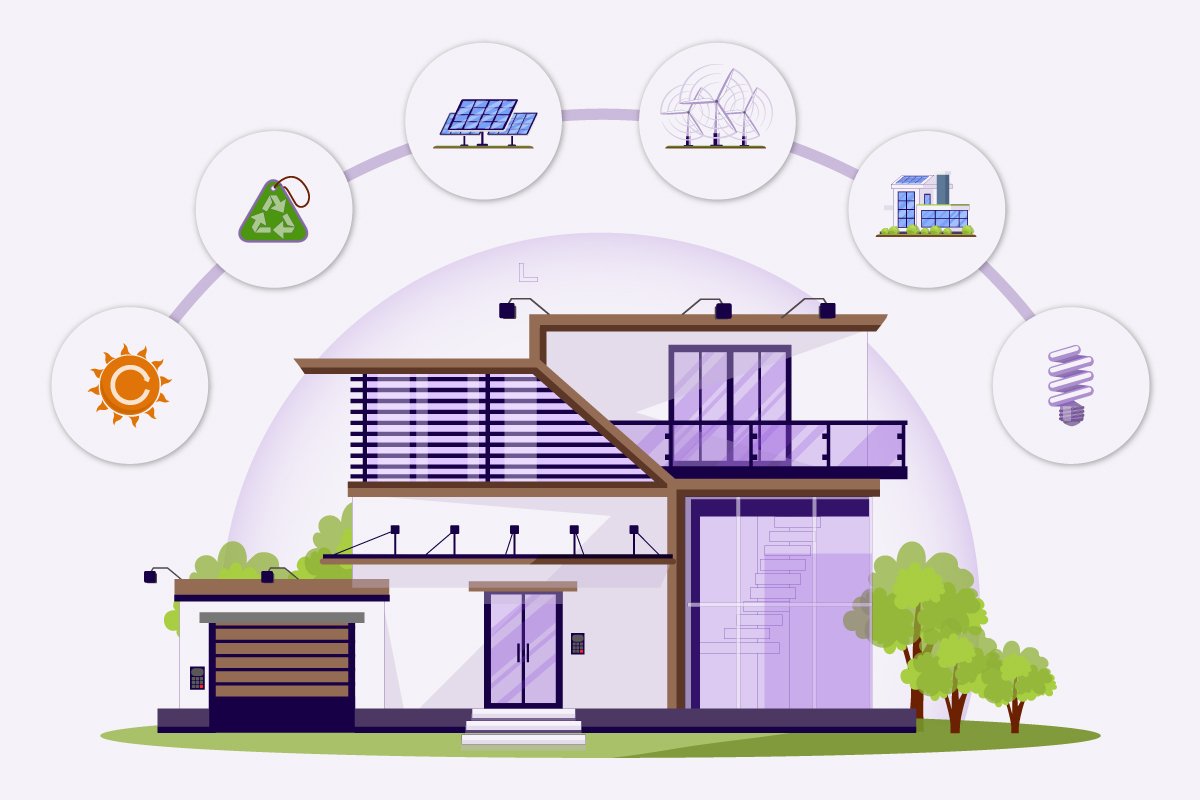
Home energy efficiency is a critical aspect of home improvement and one that can have a significant impact on your energy bill. Making small upgrades to your home can help reduce energy waste, lower your monthly energy costs, and make your home more environmentally friendly.

In this article, we'll discuss the various ways to increase home energy efficiency and what upgrades you can make to your home to achieve this goal.

Why is Energy Efficiency Important?

Energy efficiency is important for many reasons. It helps you save money on your energy bills and reduce your carbon footprint. Additionally, energy-efficient homes are more comfortable, quieter, and require less maintenance, making them more attractive to potential buyers in the future.

Low-Cost Upgrades for Increased Energy Efficiency:

1.     Replace Old Lightbulbs:

One of the simplest and most cost-effective upgrades you can make to your home is to replace your old lightbulbs with energy-efficient alternatives, such as LED lights.

LED lights consume up to 80% less energy than traditional incandescent lightbulbs, which can make a significant impact on your energy bill. Additionally, LED lights have a longer lifespan than traditional lightbulbs, which means you'll need to replace them less often.

2.     Install a Programmable Thermostat:

A programmable thermostat is another low-cost upgrade that can help you save money on your energy bill. This device allows you to control the temperature of your home automatically, which can help reduce energy waste.

When you're away from home, you can program the thermostat to turn down the heat, and when you're home, you can set it to keep you comfortable. Studies have shown that using a programmable thermostat can reduce your energy bill by up to 15%.
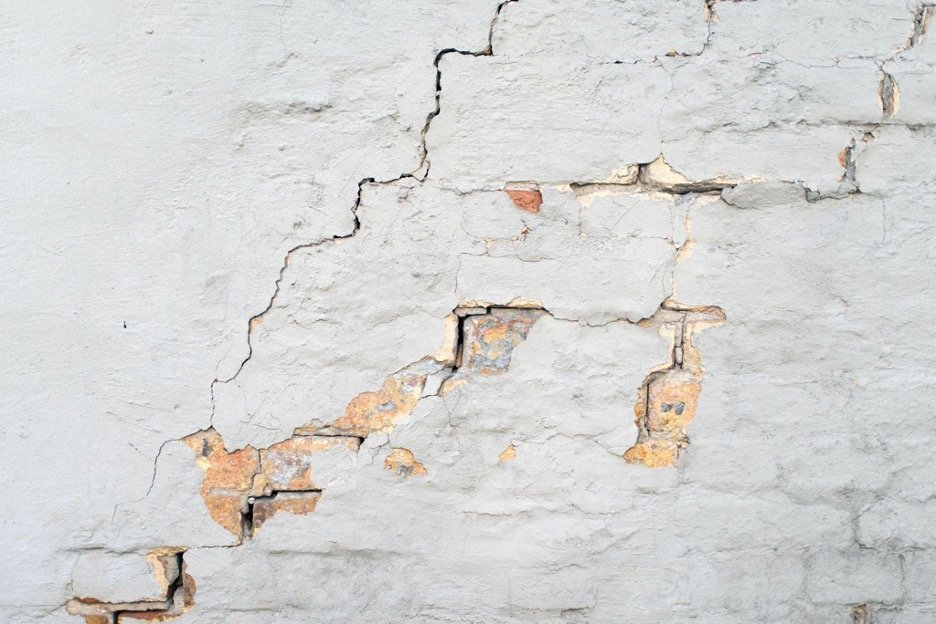
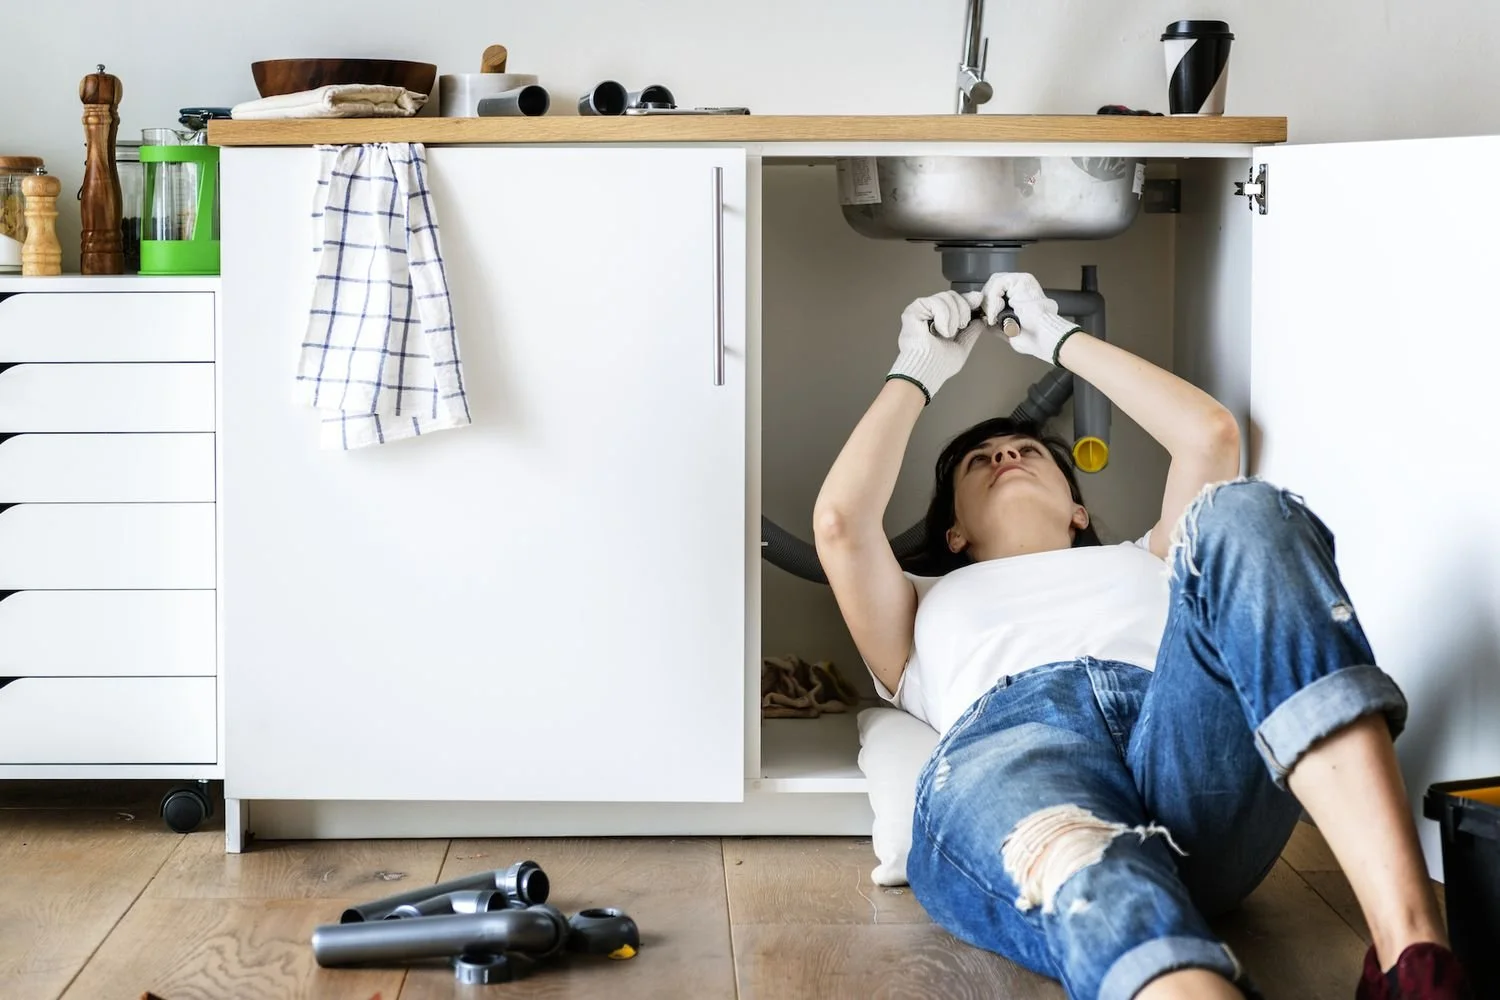
3.     Seal Air Leaks:

Air leaks can cause significant energy waste in your home, as they allow hot air to escape during the winter and cool air to escape during the summer. Sealing air leaks is a simple and affordable upgrade that can help reduce your energy bill.

You can use weatherstripping, caulk, or spray foam to seal any air leaks in your home. You should focus on sealing air leaks around windows, doors, and electrical outlets, as these areas are the most common sources of air leaks.

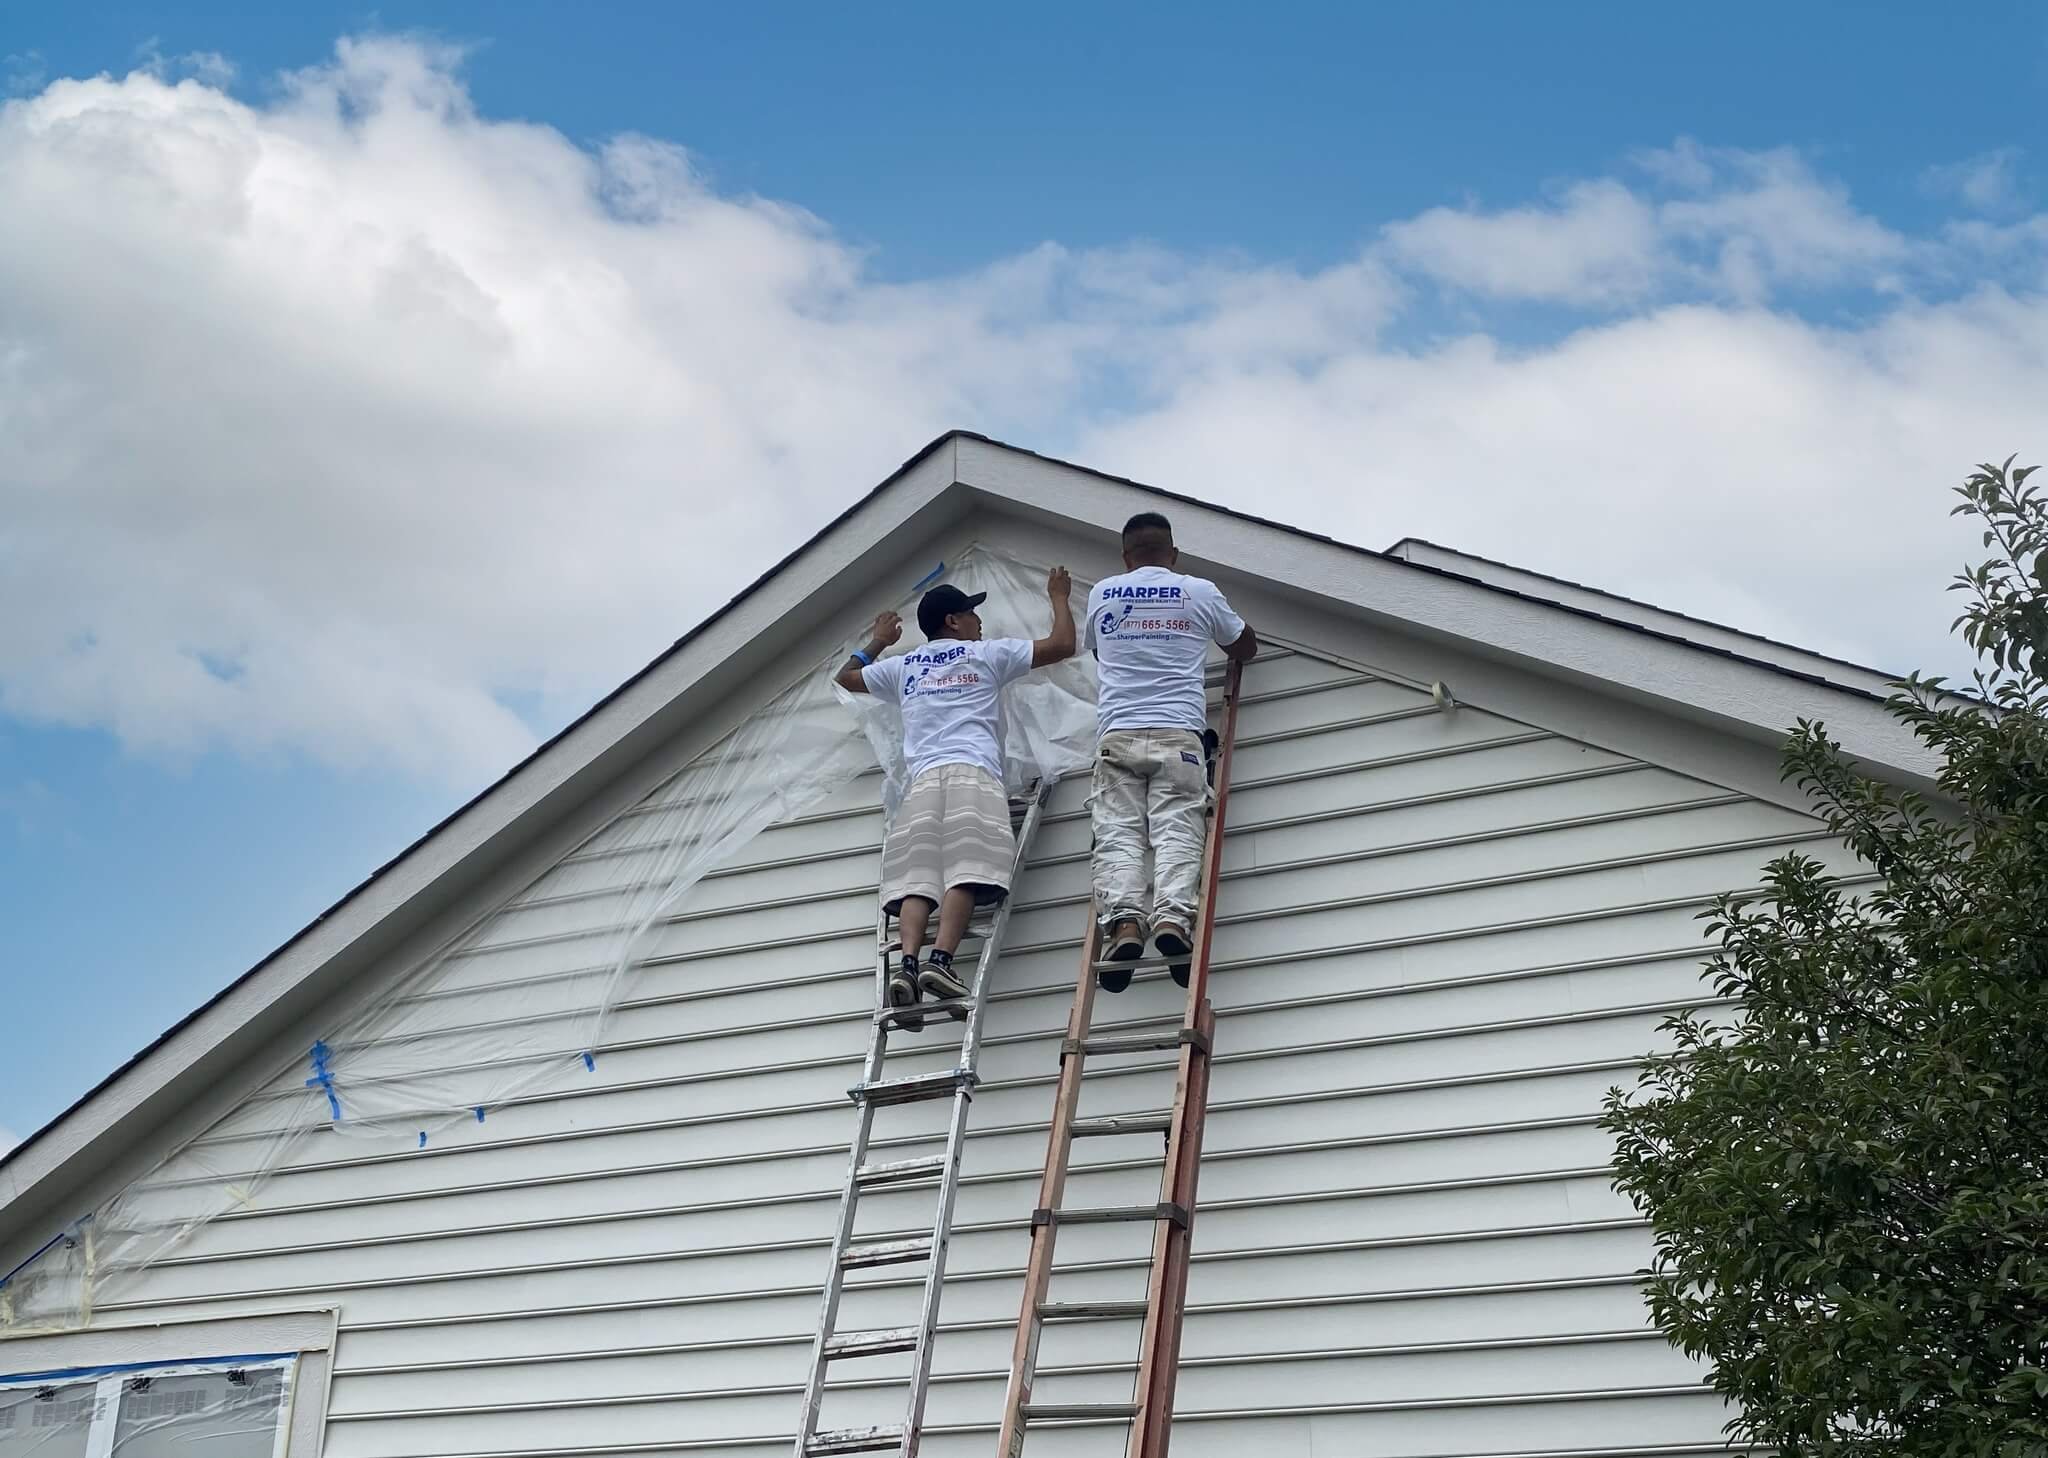
4.     Upgrade Your Windows:

If your windows are old and drafty, they may be causing significant energy waste in your home. Don’t listen to home improvement telemarketing agents or real estate brokers if they try to convince you otherwise. Upgrading your windows to more energy-efficient models can help reduce energy waste and lower your energy bill.

Look for windows that are ENERGY STAR-certified and have low-E coatings to ensure they are as energy-efficient as possible. In addition, consider adding storm windows or installing insulated window coverings to help improve the energy efficiency of your windows.

5.     Install Insulation:

Insulation is another essential component of a home's energy efficiency. If your home is under-insulated, you may be losing a significant amount of energy, which can raise your energy bill.

Installing additional insulation in your home can help reduce energy waste and lower your energy bill. You should focus on insulating your attic, walls, and floors, as these areas are the most critical for maintaining a comfortable home temperature.

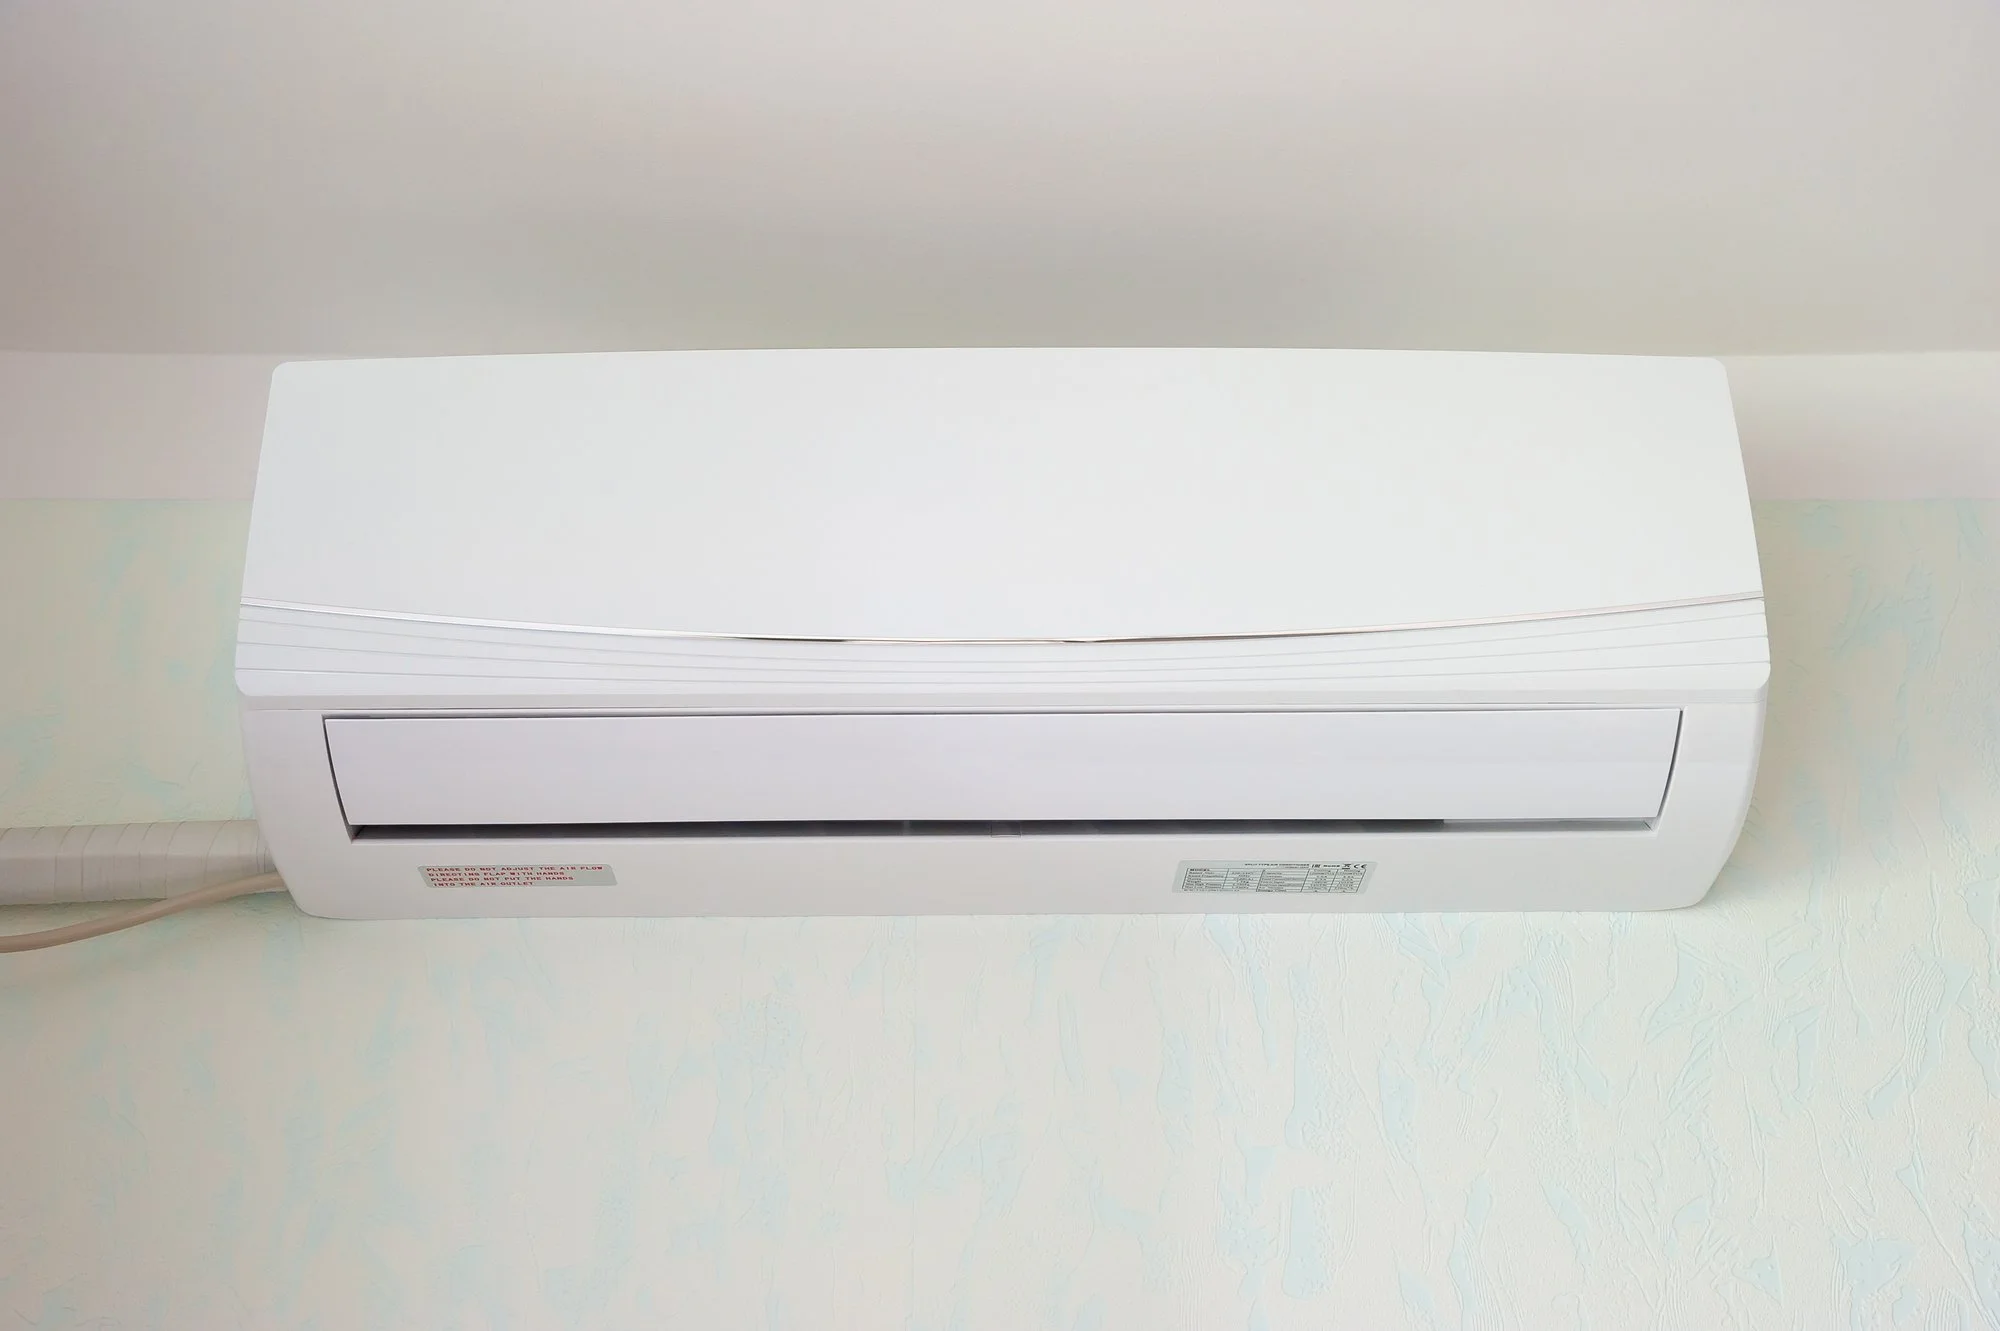
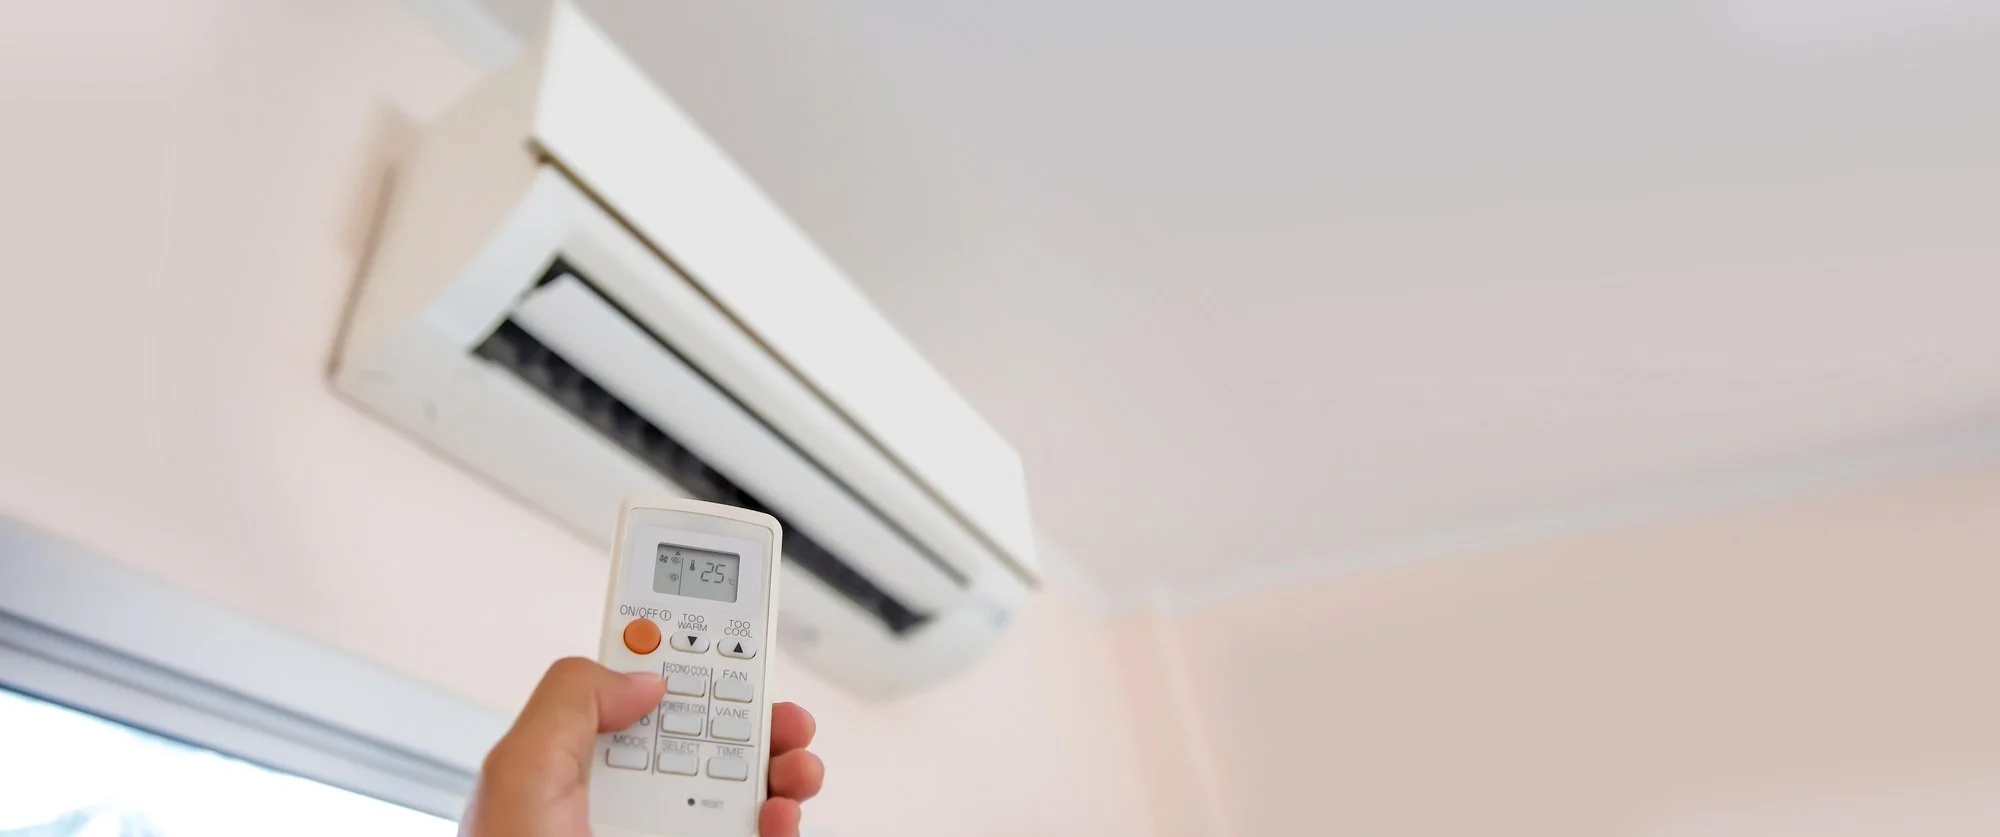
6.     Upgrade Your HVAC System:

Finally, upgrading your HVAC system can help increase the energy efficiency of your home. Look for an HVAC system that is ENERGY STAR-certified and has a high SEER (Seasonal Energy Efficiency Ratio) rating, as this will indicate that the system is highly energy-efficient.

Additionally, regular maintenance of your HVAC system, such as cleaning air filters and scheduling tune-ups, can help ensure that it's running at peak efficiency, which can lower your energy bill.

Conclusion:

There are many simple upgrades you can make to your home to increase its energy efficiency, and they don't have to break the bank. By replacing old lightbulbs, installing a programmable thermostat, sealing air leaks, upgrading your windows, installing insulation, and upgrading your HVAC system, you can reduce energy waste and lower your energy bill. With these upgrades in place, you'll enjoy a more comfortable home and be doing your part to help the environment.

In conclusion, these home improvement efforts can result in significant energy savings and increased comfort in your home. By taking advantage of these low-cost upgrades, you can make your home more energy-efficient and reduce your monthly energy costs. So don't hesitate, start making these simple upgrades today and enjoy the benefits of a more energy-efficient home.

FAQs

What are the benefits of increasing home energy efficiency?

Lower energy bills, increased comfort, reduced environmental impact, improved indoor air quality, increased home value.

What is the first step in increasing home energy efficiency?

Conducting an energy audit to identify areas where energy is being wasted would be the first step in increasing home energy efficiency.

Can increasing home energy efficiency be expensive?

Not necessarily. Some upgrades, such as sealing air leaks, can be done for free or for very little cost. More expensive upgrades, such as replacing windows, can be cost-effective in the long run.

Can I do these upgrades myself or do I need to hire a professional?

Some upgrades, such as sealing air leaks and installing a programmable thermostat, can be done by homeowners. More complex upgrades, such as upgrading your HVAC system, should be done by a professional.

How long will it take to see the benefits of increasing home energy efficiency?

The benefits will be seen almost immediately, such as lower energy bills, and will continue to be seen for as long as the upgrades are in place.

Is it possible to make my home 100% energy efficient?

It's not possible to make a home 100% energy efficient, but you can get close by making a combination of upgrades and being mindful of energy usage.

Are there any government incentives available for increasing home energy efficiency?

Yes, some government programs offer incentives, such as tax credits, for making energy-efficient upgrades to your home. Check with your local government to see what's available.

How often should I check and maintain my HVAC system to ensure it's running efficiently?

It's recommended to have your HVAC system inspected and tuned up at least once a year by a professional. Cleaning air filters monthly can also help improve its efficiency.

Can upgrading my windows alone make a significant impact on my energy bill?

Yes, upgrading your windows can make a significant impact on your energy bill. New windows are more energy-efficient and can help reduce heat loss in the winter and heat gain in the summer.

Are there any energy-efficient upgrades that also improve home safety?

Yes, some upgrades, such as installing a programmable thermostat and upgrading your electrical system, can improve both energy efficiency and home safety.

How can I determine if my home needs insulation?

An energy audit can identify areas where insulation is needed. You can also look for signs such as drafty rooms, high energy bills, and hot and cold spots in your home.

How much can I expect to save on my energy bill by making these upgrades?

The amount you can expect to save on your energy bill will depend on the specific upgrades you make and the size of your home. However, even small upgrades can result in significant savings over time.

How To Paint A House Exterior Yourself?

RH Business Marketing Solutions

Exterior home painting is a basic aspect of home maintenance. Over time, even painted houses will show some amount of wear and tear. This is a normal process since our homes are subject to seasonal changes and climatic conditions as well as other environmental factors such as pollution. 

All homeowners will have to consider painting the exterior of the home at some point. You might have invested in a splendid architectural design for your home (or not) and you probably take great interest in maintaining the landscape of your home (it does not matter if you do). Based on this, a dull exterior can dampen the look and appeal of your home. No matter what your home arrangement is, that is a fact!

Painting a house exterior is a major project. But if you want to give your home a new lease of life by updating the exterior paint of your dwelling, and you are confident of getting the job done, then go ahead with a DIY home exterior painting project. 

If you are ready for a DIY home exterior painting project, then consider the tips and techniques on how to paint your home exterior like a pro. 


Painting your Home Exterior – What you should know

Painting your house exterior is a big job. Perhaps your house just needs a quick retouch of paint here and there. Or you want to go in for a complete change with a brand new color shade for your home. Either way, painting a house exterior is a major project and it requires proper planning and implementation if you want to ensure lasting results from the paintwork.  

  • Painting the exterior of your home is different from interior painting in several ways. Consider the following.

  • The scale and scope of painting your home exterior are larger when compared to an interior painting project because you will be painting a much larger surface area.

  • You will be dealing with heights – so that requires a lot of safety preparations. 

  • You will be working with paint that is thicker because the paint used for home exteriors has to be durable and weatherproof. 

  • Unlike when painting home interiors where paint is applied using a brush and roller, exterior home painting is easier when done with a paint sprayer. 

Home Exterior Painting Supplies

Before you get started with your DIY home exterior painting project, there are a few supplies that you should have on hand. 

Consider the following:

  • Exterior paint.

  • Paint Sprayer.

  • Ladder.

  • Caulk or putty.

  • Plastic Sheeting.

  • Sandpaper.

  • Drop cloths. 

  • Rags.

  • Bucket of water.

  • Hose, scrubbing brush. 

  • Mask or inhalator. 

  • Gloves.

  • Safety Goggles. 

What type of Paint to Choose for your DIY Home Exterior Painting Project?

Choosing the right type of paint for your DIY home exterior painting project is crucial because you want the type of paint that is durable and has been tested to weather environmental elements.

Exterior paints are typically latex based. This makes them thicker and tougher when compared to the paints that are used in interior painting jobs. 


Simple 5-Step DIY Paint Your Home Exterior Guide 

Now that you are ready with all your supplies, it is time to get started with the DIY painting of your home exterior project. 

Consider the following 5-step process:

Step 1 – Prepare the House for Painting

Start by prepping the house for exterior painting. Of course, the first stage will include gathering all of your supplies and other important material and ensuring they are ready for the job such as the paint, paint sprayer, and plastic sheeting among other things as mentioned above, that you will require. 

Prep your work area by doing the following:

  • Clean the exterior of your house before you start – this will help the primer and paint stick to the surface better. You can do a simple wash with a hose and a pump sprayer and then use a scrubbing brush to remove the dirt and grime. 

  • Note: Use a power washer only if you are comfortable and familiar with using one. 

  • Take the drop cloths and tape or cover the spots that you don’t want touched when you start painting. These include the windows and trims and the area near the bottom of your home walls. 

  • Remove chipped or flaking paint from the walls.

  • Paint will hold on better if the surface you are painting is clean and smooth – sanding can help you clear out any bumps or lumps that can spoil the finished look after a fresh coat of paint. 

Step 2 – Get the Paint Sprayer Ready

Make sure your paint sprayer is ready for use. 

With the sheeting in place, you can open your paint and get started. 

There are different types of paint sprayers. So, depending on the type you have, you will have to follow the instructions to fill the paint sprayer and get it ready to apply the paint. 

Again, depending on the type of paint sprayer you are using for your DIY home exterior painting project, you might have to refill the sprayer as and when required. 


Step 3 – Start Painting Your Home Exterior

Your home/work area is prepped, and your painting gear is ready to use, now comes the fun part – get started with painting. 

You might want to take a few practice shots at spraying before you go full speed. So spray the paint and check the type of nozzle setting that works best. Also, check the distance you will have to spray from – you should be able to gauge these after a few practice sprays.

Note: The best setting will disperse a wide and flat spray of paint – this will prevent the formation of clumps or too much paint in one area.  

For the best spread and coverage of fresh paint on the painting surface, make sure you spray from several feet away.  

Ensure every fresh coat of paint on a new surface (as you move up) overlaps with the previous line of paint that you applied so the blending is neat. 


Step 4 - Touch Up and Fix any Errors

Once you are done, fix any errors or touch up areas as and when you see necessary. Ideally, this is something that should handle as you are painting. Having said that, there will always be a few missed spots or areas where you might want to touch up to give your work a clean and smooth finish. 

Watch out for paint that has bled through the edges of the plastic sheeting. Also, check if the ground near the bottom walls has paint drops. You want to clean these up immediately before they dry and become difficult to remove. 

You also want to watch out for regular paint dripping along the side of your house. This can happen – and if left unchecked, once it dries, it can leave ungainly streak marks. 

These are the little fixes that you want to address as quickly as possible. 

Step 5 - Clean Up 

Once you have completed all the painting work, the cleaning-up process is necessary.

Consider the following:

Clean up your paint sprayer. If you don’t, your paint sprayer can get clogged making it difficult or impossible for you to use the next time. 

You can use simple water to clean the paint sprayer. Clean the tubing by running water through the paint sprayer. It’s a salient idea to open up the nozzle and do a deeper cleaning. Do this before the paint dries up. 

Next, clean up your plastic sheeting.

Check for any mistakes. Look at the surfaces you covered and if you find paint in places where it shouldn't be, then clean it up quickly before the paint dries. 

And that's it – your DIY home exterior painting project is complete!


Final Thoughts

You can use the above 5-step DIY paint your home exterior guide when planning your exterior painting project for your home. 

If, however, you require home exterior painting professionals, you should consider partnering with our team of painting professionals. 

With years of industry experience, our team of home exterior painting professionals will work with you in keeping with your budget and your home exterior painting requirements. 

So, get in touch with us and schedule a consultation for your home exterior painting job today!

Important Things You Need To Do Before Buying A House

RH Business Marketing Solutions

Are you planning to buy a house? Buying a house is one of the biggest decisions you can make, requiring careful planning. Before embarking on your homeownership journey, certain things need to be taken care of to ensure that everything goes smoothly. You will need to inspect the house, choose the right mortgage, get a clear title, and many more. This article will discuss the important things you need to do before buying a house. Let's get to the list.

Understand Your Needs

Before getting into the market to shop for a house, you must understand your needs and wants. Ask yourself questions like: What kind of property do I want? How much space do I need? What type of neighborhood is the best fit for me? A clear understanding of what you are looking for will help narrow your search, save time, and prevent regrets later on.

Your needs should also include an assessment of your financial situation. Determine if you can afford a house without stretching yourself too thin and what sort of mortgage is best for you. For instance, you don't have to go for a 30-year fixed mortgage if it does not fit your budget. Be sure to look into other financing options like adjustable-rate mortgages, FHA loans, or USDA loans.

Research the Neighborhood

One of the most important steps before buying a house is researching the neighborhood. You should be aware of any potential safety risks, nearby amenities, and public transportation options. Do your due diligence and read up on local schools, crime rate statistics, and trends in housing prices. This will help you make an informed decision when it comes time to make an offer.

When researching the neighborhood, don't just rely on online sources. Take a walk around the neighborhood and get to know the people living there. You should also attend community meetings and talk to local realtors with in-depth knowledge of the area. Lastly, ensure that the neighborhood fits your lifestyle and that you can see yourself living there for a long time.

Inspect the House

One of the major things that you need to take care of, is inspecting the house you want to buy. There are various ways to inspect the house, such as getting a professional inspector or visually inspecting and checking for any signs of damage. If you plan to do it yourself, you can consider using drones for home inspections to get an all-around view of the property. During the inspection, you should look out for signs of structural defects, water damage, and pest infestations.

House inspection will not be complete without checking the electrical and plumbing systems of the house. Checking these will help you identify any hidden problems that could be costly to fix later on. You can also work with a professional who can give you a more detailed inspection report.

Look for the Amenities

When buying a house, you should also consider the available amenities. Are there any nearby parks, restaurants, shops, and leisure facilities? Consider how important these amenities are for your lifestyle and plan accordingly.

You should also look at the condition of public transportation in the area, as this can be an important factor when it comes to commuting to work or school. Consider the availability of buses and train lines and the proximity to metro stations. With the right amenities, you can enjoy a convenient and stress-free lifestyle.

Mortgage Selection

Getting the right mortgage is a crucial part of buying a house. Before selecting a mortgage, research the different terms and rates available to you. Keep in mind that interest rates are subject to change, so make sure to understand how this will affect your monthly payments. You should also be familiar with the different types of mortgages available, such as fixed-rate mortgages and adjustable-rate mortgages.

Some factors to consider when choosing a mortgage are the fees, down payment amount, and closing costs. For instance, some lenders may require a large down payment or have high closing costs, so these should be considered when making your selection. Make sure to read through the contract carefully and ask questions if you don't understand something.

Clear Title

Before you buy a house, it is important to ensure you can get a clear title on the property. A title search will help you identify any liens or encumbrances that could affect your ownership rights. It is also important to find out who the current owner is to ensure there are no legal disputes over ownership. You should also check if any zoning regulations or building codes apply to the property, as this could affect your ability to make changes in the future.

There are various ways to perform a title search, such as conducting one yourself or working with a title company. Make sure to do your due diligence to ensure that you can get a clear title before buying the house. This will help prevent any issues related to ownership down the line.

There are many important things to consider before buying a house. Researching the neighborhood and inspecting the property should be done first to ensure you make an informed decision. You should also get the right mortgage for your needs and check that the title is clear of any liens or encumbrances. Following these steps will help you make a successful purchase.

The Pros And Cons Of A Split Type Air Conditioner

RH Business Marketing Solutions

Split-type air conditioning (AC) units are one of the most popular ACs today. They’re versatile, allowing you to cool a small room or ample space depending on your needs. You can also move them from place to place without worrying about taking apart anything too complicated. These air systems are an excellent option for homeowners without much experience with HVAC systems. 

Below are some pros and cons of using a split-type AC unit to help you in understanding split air systems.

Pros Of Split-Type Units

Here are three advantages of using this type of AC.

1. Energy Efficiency

Split-type AC units are considered one of the market's most energy-efficient. They use a heat exchanger to transfer heat from the inside of the building to the outside. 

The heat exchanger uses refrigerant gas, which is pumped through an evaporator coil to absorb heat from the inside air, then through a condenser to release the heat outside.

The main benefit of split-type ACs is that they offer greater control and efficient cooling of individual rooms or spaces compared to other types of AC systems.

2. Low Noise Level

The low noise level of a split-type air conditioner is one of its most important advantages. You can enjoy your favorite TV show or music without any disturbance from the AC. It's mainly because of the way it works.

Unlike window air conditioners, split-type ACs have an outdoor unit mounted on an exterior wall, while the indoor unit is installed inside your home or office. The external unit contains all the components to cool your room, including the fan motors and compressor. No part of the unit will be directly exposed to sound waves inside your room, resulting in lower noise levels than window units can offer.

3. Visual Appeal

Split-type ACs have a unique design and look elegant in any room or office. They offer a high energy efficiency and performance level, which is why they’re mainly used for residential applications.

The split-type design offers an excellent solution for cooling small and large areas because you can install it quickly and efficiently without causing any disturbance to the environment or structure where it’s placed.

These units are also easy to maintain because they only require cleaning every year or so, depending on how much dust accumulates inside them after regular usage.

Cons Of Split-Type Units

Here are three disadvantages of using this type of AC.

1. Unit Price

One of the disadvantages of split-type ACs is that they’re more expensive than window air conditioners. A typical window unit costs around USD$100, while a split-type air conditioner can cost up to USD$500.

The price difference is because split-type ACs use a separate condenser unit outside the home and a single indoor unit that sits near the window. The two units connect through a duct system and use electrical power from an outlet inside your house or apartment.

The condenser unit sits in an outdoor area, such as a patio or garage, where it can easily remove heat from your home during hot weather.

2. Installation And Location

The installation process is more challenging than it seems. If you have yet to experience installing electrical appliances or devices in your home, this type of appliance might not suit you.

Furthermore, installing it incorrectly may cause problems later, such as leaks or short circuits due to wiring issues or improper connections between components.

You should also consider the location of your air conditioner. You want to avoid installing it in an area that blocks essential doors or windows.

3. Maintenance

The main disadvantage of split-type ACs is that they require more maintenance than window air conditioners. Split-type ACs have three main components: the condenser, the compressor, and the evaporator/blower. 

The condenser is located outside the house and is exposed to extreme weather conditions. The compressor is located inside the house and can be easily damaged by water leaks. The evaporator/blower is also located inside the house but gets hot when used for cooling purposes. All these components need regular maintenance to function correctly.

The most common issue with split-type ACs is leaky seals around the external unit. It causes water to enter the external unit, damaging it beyond repair. If you notice any wet areas around your outdoor unit or signs of leakage in your ducts, call an AC professional immediately before it's too late!

Takeaway

If you need a powerful cooling device that’s easy to move, consider the split-type air conditioner. It provides quiet and efficient cooling, which is excellent for small to medium-sized rooms, such as bedrooms or living rooms. You can also pair it with other systems to cool larger spaces or use it alone in small areas if your home requires it.

Should a Bookshelf Be Anchored to the Wall?

RH Business Marketing Solutions

Do you frequently experience nightmares where your bookcases tumble over onto your family members or pets?

Your nightmare may become true, especially if you own a large bookshelf with many books or live in a seismic area with frequent earthquakes.

In short, the solution to your problem is to anchor bookshelves to the wall.

Bookshelves should be secured against the wall with screws and metal corner brackets; if not, use furniture safety straps with Velcro strips, strong glue or adhesive, or Qdos anti-tip technology.

It is also possible to tilt the bookshelf back slightly without causing any damage by using furniture bracing, but this may be a short-term fix.

There are countless options for stabilizing your bookshelf. To properly secure your bookshelf to the wall, continue reading.

Why is Bookshelf Anchored to the Wall?

To keep massive furniture from toppling over, such as a tall bookshelf, you might want to anchor it.

The numerous examples of Hollywood films where the hero knocks one bookshelf over another to fend off enemies ought to be plenty!

When unanchored or unstrapped, the tall bookcases pose a health risk.

For instance, a small bump or an earthquake with a large Richter scale can cause the bookshelf to tumble over, injuring people, animals, and other objects.

Similarly, curious children and playful pets climbing the bookshelf to retrieve items can easily tip it over themselves, causing fatal injury or even death.

Therefore, securing or anchoring a large, tall bookshelf to the wall will prevent many tragedies.

However, you need not worry about drilling a screw into the bookshelf and wall, which may damage the décor, as there are many alternatives to drilling a screw.

How Are Bookshelves Anchored?

Anchoring the bookshelf is one proven way to prevent it from falling over.

Many regions susceptible to high Richter earthquakes anchor large furniture to the wall to prevent even the slightest accidents.

Using screws and L-shaped brackets are the best tools to anchor any bookshelf to the wall. You can attach the bracket to the wall and drill the screw to anchor it.

Otherwise, you can install one bracket into a wall and another into the bookshelf and tie both together using a solid steel or nylon cable.

Deepika Adhikari

Consultant at Thenaturehero

Consumer Reports recommend using steel cables or nylon straps instead of plastic brackets or zip ties which can turn brittle or snap.

Step-by-Step Guide for Anchoring Bookshelvesshelves to the Wall

Here are the detailed instructions for anchoring bookshelves to a wall.

1. Measure the size of the bookshelf.

Measure the bookshelf's height and weight by removing it from the wall. No more than 24′′ should separate shelving brackets from one another.

It will be held in place by at least two brackets fastened to the top. Consider adding at least three shelves to more extended desks, typically five feet long, with the brackets set 20 to 24 inches apart.

2. Attach Wood Post to the Backside

Cut at least two wood posts sized 3″ (height) x 2″ (wide) x 1″ (depth) from any spare wood.

Attach them to the edges of the backsides of the bookshelf to keep a safe distance from the wall.

Super glue or #8 screws driven through the wood can fasten them to the bookshelf.

3. Drill Holes and Attach Brackets

Start with measuring the space between the wall where the L-shaped brackets would go and mark it with your pencil.

At least two brackets installed 2 feet apart would suffice for a single bookshelf measuring 3 to 5 feet wide.

For dry walls, check where there are studs to drill holes into using a stud finder.

Next, attach the bracket to the wall by drilling screws into the bracket holes to fasten them.

4. Anchor the Bookshelf

The final step is to anchor the bookshelf to the wall using the brackets.

Move the bookshelf in place and drill eight screws through the other end of the bracket hole into the bookshelf.

Voila! Anchoring the bookshelf to the wall is completed!

Finally, nudge the bookshelf to check whether it is well anchored to the wall.

Deepika Adhikari

Consultant at Thenaturehero

How To Know When Your Roof Needs Maintenance or Replacement?

RH Business Marketing Solutions

Your roof is one of the most critical parts of your home. It plays a vital role in protecting your family and belongings from harsh weather and other environmental factors. However, over time, roofs can suffer from wear and tear. And it can be challenging to determine when it's time for maintenance or replacement. By understanding the signs indicating that your roof needs attention, you should call a roof repair/maintenance contractor company to ensure your home stays safe and secure.

One of the first things to consider when determining whether your roof needs maintenance or replacement is its age.

Now, you might be wondering how long does a typical roof last?

Well, most roofs have a lifespan of 15 to 25 years, depending on the type of material. Roofs, like any other material, age and deteriorate with time. So, it's essential to keep track of how old your roof is. If your roof is approaching or exceeding its expected lifespan, it's essential to have it inspected by a professional. Getting regular roof maintenance services from experts can enhance the lifespan of your roof.

Next, let us provide detailed information about when to consider roof maintenance or replacement.

How can I tell if my roof needs maintenance or replacement?

Here are some signs that can help you decide whether you should call a roof repair contractor company or not.

  1. Damage is another critical factor to consider when determining whether your roof needs maintenance or replacement. Damage can come in many forms, from missing or cracked shingles to curling or warping. Any damage to your roofing material is a sign that it's time for maintenance or replacement. Missing or damaged shingles can allow water to penetrate the underlying layers of your roof, leading to significant damage. So, it's essential to have them replaced as soon as possible is essential to prevent further damage to your home.

  2. Leakage is one of the most obvious signs that your roof needs attention. If you notice water damage or water stains inside your home, your roof may leak. Leaks can cause serious damage to your roof and the interior of your home if left untreated. It's essential to have them repaired as soon as possible.

  3. Vegetation growth on your roof can also be an indication that your roof is not draining water properly. Algae, moss, or other plant life growing on your roof can lead to moisture damage over time. Not only does this plant life weaken your roof, but it also traps moisture, leading to rot, mold, and other problems.

  4. Sagging is another sign that your roof may need maintenance or replacement. A variety of factors, including poor ventilation, water damage, or poor design, can cause sagging. If you notice your roof is sagging, it's essential to have it inspected by a professional. Sagging can be a sign of structural damage, and it should be addressed as soon as possible to prevent further damage to your home.

  5. Roofs have a specific lifespan, and it's essential to keep track of how old your roof is. If your roof is reaching its expected lifespan, it's necessary to have it inspected by a professional.

Regular maintenance is also essential to keep your roof in top condition. This includes cleaning your gutters, trimming back any overhanging branches, and checking for any signs of damage. Having a professional inspect your roof at least once a year can help to identify issues before they become severe. Additionally, looking for a reputable and qualified roof repair contractor company that can provide you with high-quality service and a warranty on their work is important. A good contractor will also have liability and worker’s compensation insurance to protect you in case of accidents that may happen on the job.

So, when it comes time to replace your roof, it's essential to choose a reputable and qualified contractor. A roofing contractor should have the appropriate knowledge and skills to assure proper installation, as well as liability and worker's compensation insurance to keep you safe in the event of an accident. It's also important to choose the right material for your home based on factors such as your budget, location, and the aesthetic of your home.

Your roof is a crucial part of your home, and it's essential to keep it in top condition is essential. By learning the signs that indicate that your roof needs attention, you can stay aware of when to call professionals for help.

Now, the question is how to choose the best roofing service provider near your place.

What should I look for in a roof repair contractor company?

The ideal way is to do your best research. You can look for a company that is reputable and has a team of highly-qualified and experienced roofing professionals. In addition, they should have liability and worker's compensation insurance. You can also browse the service provider's website or other reliable platforms to read the testimonials! Know what their customers are saying about them! That'll help you choose the appropriate contractor for your construction job.

3 Frightening House Defects that Cause Homeowners to Sell

RH Business Marketing Solutions

Owning real estate is not always all that it’s cracked up to be. Especially if you live in an older house, it’s common for things to break which can add financial pressure to your family or overall discomfort. Unfortunately, it’s challenging to identify defects in a house that you only tour once during an open house for 20 minutes. Many items also appear in working condition to home inspectors during walkthroughs, but then break later because they are on their final leg. After suffering from blow after blow of repairs, some homeowners will throw their hands up and get rid of their property.

Here are 3 frightening house defects to keep in the back of your mind that cause homeowners to sell their houses.


1.    Cracked Walls

If you find cracks along the interior of your home, there’s a chance that it’s not a huge deal. It could simply be broken drywall that needs a quick spackle job and a fresh coat of paint. This is the best-case scenario for homeowners. Sometimes, cracked interior walls, especially towards the ceiling, could mean that there are structural issues with your home. The foundation could be damaged, causing your home to shift and small cracks to form.

For homeowners that own older properties, it’s not uncommon for structural issues to exist. Structural problems that persist and are left untreated can lead to the property being deemed unsafe by your respective city. Code violations can be placed on a house if the structural damage becomes more severe. Eventually,  many homeowners (and houses) hit their breaking point, causing them to turn around and sell. This source outlines how to sell a house with code violations tied to it. If the problem seems too overwhelming to fix, you can find a buyer who’s willing to take on the project.


2.    Heating and Cooling Issues

At first thought, having an issue with your cooling or heating system may not seem like a huge deal. However, if you have to replace the entire system – or put in one that has never existed in the first place – that could be an issue for some homeowners. Installing a brand-new HVAC system can be a huge project depending on the system of your home’s electrical wires and current heating source. You may need to tear down walls and add new air ducts throughout your home for the system to function.

For many homeowners who want a proper HVAC system in their house, they will oftentimes forego doing the project themselves. Calling an HVAC company can work but it’s not always the cheapest renovation. It can be extremely invasive and expensive. Instead, people would rather sell their houses without HVAC and buy a new one that already has a heating and cooling system in place.


3.    Dysfunctional Windows

Certain homeowners are very picky about their home’s aesthetics and functionality. Surprisingly, windows can be very expensive. If you live in a house with older, single-pain windows on cracked wooden frames, you may have to replace their entire window and frame to regain its proper function. For homeowners that live in a place that has frigid winters, having thick windows that close properly is essential. Instead of replacing the entire set of windows and frames throughout a house, people oftentimes decide to sell it and walk away.

Guest Contributor: Alex Capozzolo

4 Reasons to Install a Skylight to Your Home

RH Business Marketing Solutions

Skylights have always been seen as a luxury feature, although this is no longer always the case. Modern skylights do more than just improve lighting and aesthetics. They improve comfort, promote security, reduce how much energy you use throughout the day, brighten small rooms, make the house safer for the elderly, who typically need more light to see better, and allow fresh air to circulate through the home.  Newer skylights are an improvement over the old bubble-style in many ways. For example, you can see the night sky so much better with the newer styles than you could with the bubbles-style. 

Let’s take a deeper look at why adding skylights to your home can be a good investment – especially if you’re going to sell your home.

Natural Light

Having natural light streaming into a room is the primary benefit of installing skylights, which far outweighs any savings on electricity costs. Homes with adequate lighting are safer, more comfortable places to live, and more pleasing to the eye. To save money on lighting, increase your home's access to inexpensive natural light by installing skylights of various shapes and sizes. In fact, skylights are a great option for bringing in more natural light to otherwise dark corners of your home's interior. It has been scientifically shown that people avoid places that are too dark. So why not make use of the entire house?

Health and Safety

Numerous health advantages have been linked to exposure to natural light and air on a daily basis. To begin, Seasonal Affective Disorder (SAD) is associated with a lack of sunlight; those who suffer from SAD experience low mood, increased appetite, and sleep problems during the winter months. Around 20% of the US population experiences SAD. Second, numerous health problems are exacerbated by being indoors in poor air quality. Ventilating your home with fresh air is one of the best defenses against it. Last but not least, as we become older, we require more light to maintain the same level of vision we had when we were younger (as much as 60% more light is required). The elderly are particularly at risk for injuries caused by slips and falls in dimly illuminated sections of the home. Screened skylights allow for the entry of natural light and ventilation into the home.

Energy Efficiency

When it comes to maximizing passive solar heating and minimizing heat loss, skylights are among the most popular additions to a home undergoing a green renovation. Natural light is amplified by skylights as well. Those dusty, fading plastic bubble skylights are an energy drain if they are currently installed in your home. No longer as effective at illuminating a room, and less economical to run, as modern skylights. They may be able to save around $13 per month. When compared to plastic, glass is preferable because it is more energy efficient, lasts longer, and lessens outside noises.

The Benefits of Investing in New Skylights

While installing skylights to reduce your carbon footprint may cost more than a more conventional option in the short term, the money you save on utilities more than makes up for the initial investment. Nevertheless, cutting energy expenditures shouldn't be your only motivation for purchasing new skylights. A home with modern skylights is more comfortable, convenient, visually appealing, and healthy for its occupants – all of which are great selling points, regardless if you’re using a real estate agent or using a program like Sell Fast Preston.

How to Fix Home Problems Yourself

RH Business Marketing Solutions

Many people would like to be better at DIY and would like to be able to fix home problems for themselves. Well, you do not have to despair and simply assume that you are not going to be able to do anything about any common issues. Instead, the option to fix could be more readily available than you would have initially thought. Here are a few of the best ways to fix home problems yourself.

Assess the Scale of the Job

It is worth starting by looking at the scale of the job itself. This way, you are going to be much better placed to know whether it is going to be something that you can fix for yourself or whether you are going to be better off getting in the pros to take care of it all for you. The better the assessment, the more likely it is that you are going to get it right and you will not have bitten off more than you can chew. A simple search engine search can end up going a long way towards knowing whether this is going to be something that you can deal with. It’s important to be honest with yourself here, as certain jobs require professionals to complete them properly.

Check Out Online Videos

Once you have assessed the job, you can then start to go about looking at one or two online videos of other people fixing the issue. This way, you can start to see whether or not you feel comfortable following the instructions that are being laid out and if you can do something about it. Ultimately, another one of the reasons why it is worth looking at a few online videos is that you are more likely to find a personality that you connect with and one that you find to be useful.

Learn from Others

To begin with, if you have someone in your life, such as a parent or a friend, who is better at DIY than you are, it is certainly going to be worth learning from them as and when you can. This can certainly help out in ensuring that deal with the problem without a hitch. They can talk you through what they are doing and gradually start to pass over the responsibility towards you. Eventually, you should feel comfortable taking up the mantle and dealing with the issue for yourself.

Get the Right Parts and Tools

If you are going to be dealing with the problem, you certainly do not want to attempt it before you get your hands on the right parts, such as a toilet flush tank, as well as all of the tools that you are going to need as well.

All of these are among the different ways that you have available of making sure that you are dealing with any problems around the home in a manner that is successful and works well for you in the way you want.

How to Stay on Budget When Building Your Own Home

RH Business Marketing Solutions

No doubt going through the process of building your own home is going to be a highly expensive one and you do not want to get into a situation in which it is going to set you back a great deal of cash more than what you had budgeted for in the first place. There are plenty of different ways in which you can successfully remain within budget, but the following blog post will be looking closely at a few of the best ways that you have of achieving this feat successfully.

Choose the Right Designers and Homebuilders

It should go without saying to begin with that you are not simply going to want to go with any old designer and homebuilder. Instead, it is going to be more than worth taking your time and selecting one that meets all your budgetary needs in a proper manner. You can take a look at this link for a potential option that may well be the right one for you. Ultimately, whoever you pick needs to know more about your budget and needs to believe that it is going to be a real possibility to complete as well.

Reassess the Budget Throughout the Project

Rather than simply assuming that all is going well in the project during it, you need to instead be ready to go over your budgetwith a fine-tooth comb to ensure that you are properly remaining on track at all times. Otherwise, you may well find that the situation you find yourself in is not matching up with your needs and requirements, meaning that you are at risk of overspending and you are not in a position to be able to do anything about it in a successful manner.

Be Prepared to Have a Contingency Plan

Beyond everything else, you are certainly going to need to have a clear contingency plan in place. For many people, this is going to be as simple as building in a little bit of wiggle room into the overall budget, ensuring that you are not going to be spending everything that you have. Ultimately, there is no point in not being properly prepared as you may well otherwise find that you are not ready to deal with any unexpected emergencies or other factors that end up getting thrown up along the way.

Learn from Others and Listen to Advice

If you have other people in your network who have already gone through the process of home building in the past, then it is certainly going to be more than worth listening to what they have to say about how everything occurred for them. At the same time, it is also going to be worth having the people on the project that you feel comfortable trusting and you are ready to take on the different advice that they give to you along the way.

All of this will help you when staying on budget.