Google+

contact us

Use the form on the right to contact us.

Day or Night, we are here to serve you. Leave your plumbing problem to us.


Tinley Park, IL

(708)845-7922

Residential and Commercial plumbers and plumbing contractors available in Orland Park, Tinley Park, Oak Lawn, Palos Heights, Midlothian, Oak Forest, Homer Glen, Mokena, Frankfort, and the surrounding Chicago South Suburbs. Emergency plumbers.

copper water lines.jpg

Kevin Szabo Jr Plumbing Blog

Kevin Szabo Jr Plumbing is Tinley Park, Orland Park, Oak Forest, Midlothian, Orland Hill, Homer Glen, Mokena, Frankfort, Crestwood, Palos Heights, Oak Lawn, local plumber. Read our blog for advice, tips, a good laugh, and basic home improvement.

**We are moving our old blog to our new and improved website. Too see all our posts visit kevinszabojrplumbing.blogspot.com

Filtering by Tag: New lenox plumbers

An Introduction To Renters Insurance Coverage

RH Business Marketing Solutions

IMG_2632.jpeg

An Introduction to Renters Insurance Coverage

Renters insurance is an extremely affordable way for tenants to keep their belongings safe, with the average premium totaling less than $150 per year. Yet under 40% of all renters are insured, in large part because of a lack of awareness among tenants about the benefits of renters insurance.

It’s impossible to predict when an emergency situation will strike, and the best way to prepare for the unexpected is to stay insured. Understanding the benefits and coverage of a renters insurance policy will allow you to make an informed decision about acquiring coverage.

How Does Renters Insurance Work?

Since relatively few people purchase renters insurance, there are some common misunderstandings regarding what exactly is covered under a typical policy. Some tenants assume that they’re automatically protected under their landlord’s insurance, but the truth is that you need your own policy to be covered in case your possessions are damaged or stolen.

Many tenants wonder if renters insurance covers water damage, bedbugs, and other unexpected occurrences. While there are some important differences in the fine print of many policies, a typical renters insurance plan provides coverage up to a certain limit in case of weather events such as rain, wind, fire, and hail. That said, more extreme conditions like earthquakes and floods will generally require additional coverage, so it’s important to make sure you’re protected if you live in a vulnerable region.

Your policy will also pay for temporary relocation in case your apartment is no longer habitable, a responsibility that may or may not be picked up by your landlord. The price of a few coffees each month is well worth the peace of mind that comes from knowing you’ll be kept on your feet no matter what happens.

Exceptions to Renters Insurance Coverage

While renters insurance provides critical protection for a number of costly situations, there are some things that most policies won’t cover. The first two examples are earthquakes and flooding, which many insurance companies offer as a separate policy. 

Under a standard renters insurance policy, you won’t be compensated for any damage done to extremely valuable or rare items such as jewelry and fine art. The most common insurance limit is $100,000, but you’ll likely still need to purchase additional insurance if you want these items covered.

Other common situations tenants often find themselves in, like losing a phone or having a pet cause damage, are not covered under renters insurance. Your protection also won’t apply to anyone else living in the apartment unless they purchase their own coverage.

Renters insurance is a low-cost, reliable method of keeping your belongings safe and ensuring you’ll have a place to stay even in a worst-case scenario. For less than a dollar a day, you can cover all the possessions in your apartment from loss or damage resulting from anything from fire to theft.

Guest Contributor, Armand Levitz

How to Install a Ventilation Fan in Your Bathroom

RH Business Marketing Solutions

IMG_0732.jpeg

How to Install a Ventilation Fan in Your Bathroom

Your bathroom is the one room in your home that is constantly under assault from a variety of sources. Harsh chemical cleaners, steamy showers and the remnants of last night’s Mexican entrees all need a way out and vent fans can do just that.

While the odor of a recently used restroom is definitely something we want to get rid of, the more important factor in installing a ventilation fan is evacuating the steam and water vapor created from baths and showers. 

This moisture, if left unaddressed can cause floors to bow, caulking to degrade, and mold to grow in our bathrooms, leaving us with costly repairs and unsightly walls, floors and ceilings. 

When you’re ready to start keeping your bathroom dry, here’s how to do it. 

Selecting a Ventilation Fan

Finding the right fan for your bathroom is an easy process, but an important one. When considering which fan fits your needs, consider the following. 

● Square footage. Fans are designated by the CFM (cubic feet per minute) of air that they move. You’ll want a fan that has at least one CFM for every square foot of your bathroom. Find square footage by multiplying the length of a room by its width. 

● Features. It may sound silly, but this is the 21st century, even our ventilation fans come with features and options now. Modern fans can commonly be equipped with a built in light, a heater, humidity sensor, motion detector, night light and even Bluetooth speakers. 

● Install options. Vent fans can be installed with or without attic access, on the ceiling or walls, and with or without cutting into the wall material. Figure out which option suits you best and pick a fan to match. 

The Tools

Installing a vent fan is a diy task that most homeowners can take on. However, you will need a few tools. 

● A drill with bits and drivers

● Screws

● Flathead and phillips screwdrivers

● Utility knife

● Jigsaw or drywall saw

● Respirator and eye protection

● Duct tape

● Wire cutters and crimpers

● Assorted electrical connectors (may be included with fan)

Time to Get Started

Once you’ve selected the right fan and have assembled the tools, you’re ready to get going. First, determine where your fan will be installed and gain access to that area. If you’ll be venting the fan through the ceiling, you’ll need to be able to get into the attic. 

Drill a Reference Hole

Find a suitable position on the ceiling, ideally between the shower and the toilet, and drill a reference hole through to the attic. A 3/8” bit is big enough for this. 

Measure the vent fan housing and note it on a piece of paper, you’ll need this next. 

Now, climb into the attic and locate your reference hole. Clear away any debris, insulation, or stored objects from the area. Using the measurement you just took, locate the final position of the fan between two joists nearest your hole. 

Note that position in relation to your reference hole so you can transfer that to the ceiling back in the bathroom. 

Mark the Layout in the Bathroom

Back in the bathroom, measure the inside dimension of the fan’s intake. 

Using your reference hole and the notes you made in the attic, transfer the measurements from the attic to the ceiling and use a square to mark out the intake port on the ceiling. 

Cut the Hole

Using the saw you have on hand, cut along the lines you just drew for you intake port. Be sure to wear your airway and eye protection and support the cut-out piece so that it doesn’t rip drywall paper from the ceiling as you finish the cut. 

Drop in Your Fan

Now, head back into the attic with your vent fan. Attach a 90-degree elbow to the outlet port of the fan and secure it with duct tape (preferably foil duct tape).

Remove the knock out panel and attach applicable wiring (you may need an electrician for this portion).

Attach the metal brackets to the fan at the designated points. 

Drop the fan into position, through your ceiling hole 

Secure the Fan

Using the drill and 1 ½” drywall screws, secure the brackets to the joists. 

Slide the flexible ducting over the elbow you installed and secure in place with foil tape. 

Cut Your Vent Hole

All exhaust fans need to be vented to the outdoors. Never allow a fan to blow into the attic or other space, this will cause mold and water damage as the steam condenses into water. 

Locate a spot on the inside of the roof close to your vent fan. Using a hole saw sized to the cap kit, cut a hole through the roof to the outside. 

Connect Your Flexible Hose

Once you’ve cut your hole, make your way onto the roof and locate the opening. Using the cap or vent kit, place the cap in position and secure it according to the instructions provided.

The SheltonRoofing.com information guide says that while you’re up there, check out the condition of your roof. Aging and disheveled roofs cause homeowners a multitude of problems and can be extremely costly if they fail.

Back in the attic, connect the other end of your flexible hose to the cap or vent kit and secure it with foil tape. You may also need to fill any gaps around your ceiling hole with spray foam or caulking. 

Give it Power

Ensure that power to the wiring you’ll be using is disconnected. 

In the bathroom, expose the blower motor and its wiring. 

Make the applicable connections using the wiring diagram provided in the fan kit. If you’re uncomfortable with home wiring, consider hiring an electrician. 

Secure all wiring and attach the ground. Cover the blower motor and turn on power to the fan. If it comes on, you’re good to go. 

Finishing Up

Replace the cover to the vent fan and secure it in place. Caulk or silicone any gaps between the fan and ceiling. 

Retest the operation and that’s it, you’re in the venting business.

An exhaust fan makes an excellent addition to any bathroom and removes the water and odor vapors that can cause you bathroom headaches for years to come. With this guide, we hope you can get a new vent fan installed in no time!

Guest Contributor, Tom Masters  

How To Clean and Maintain Your Kitchen Sink Drain

RH Business Marketing Solutions

IMG_3604.JPG

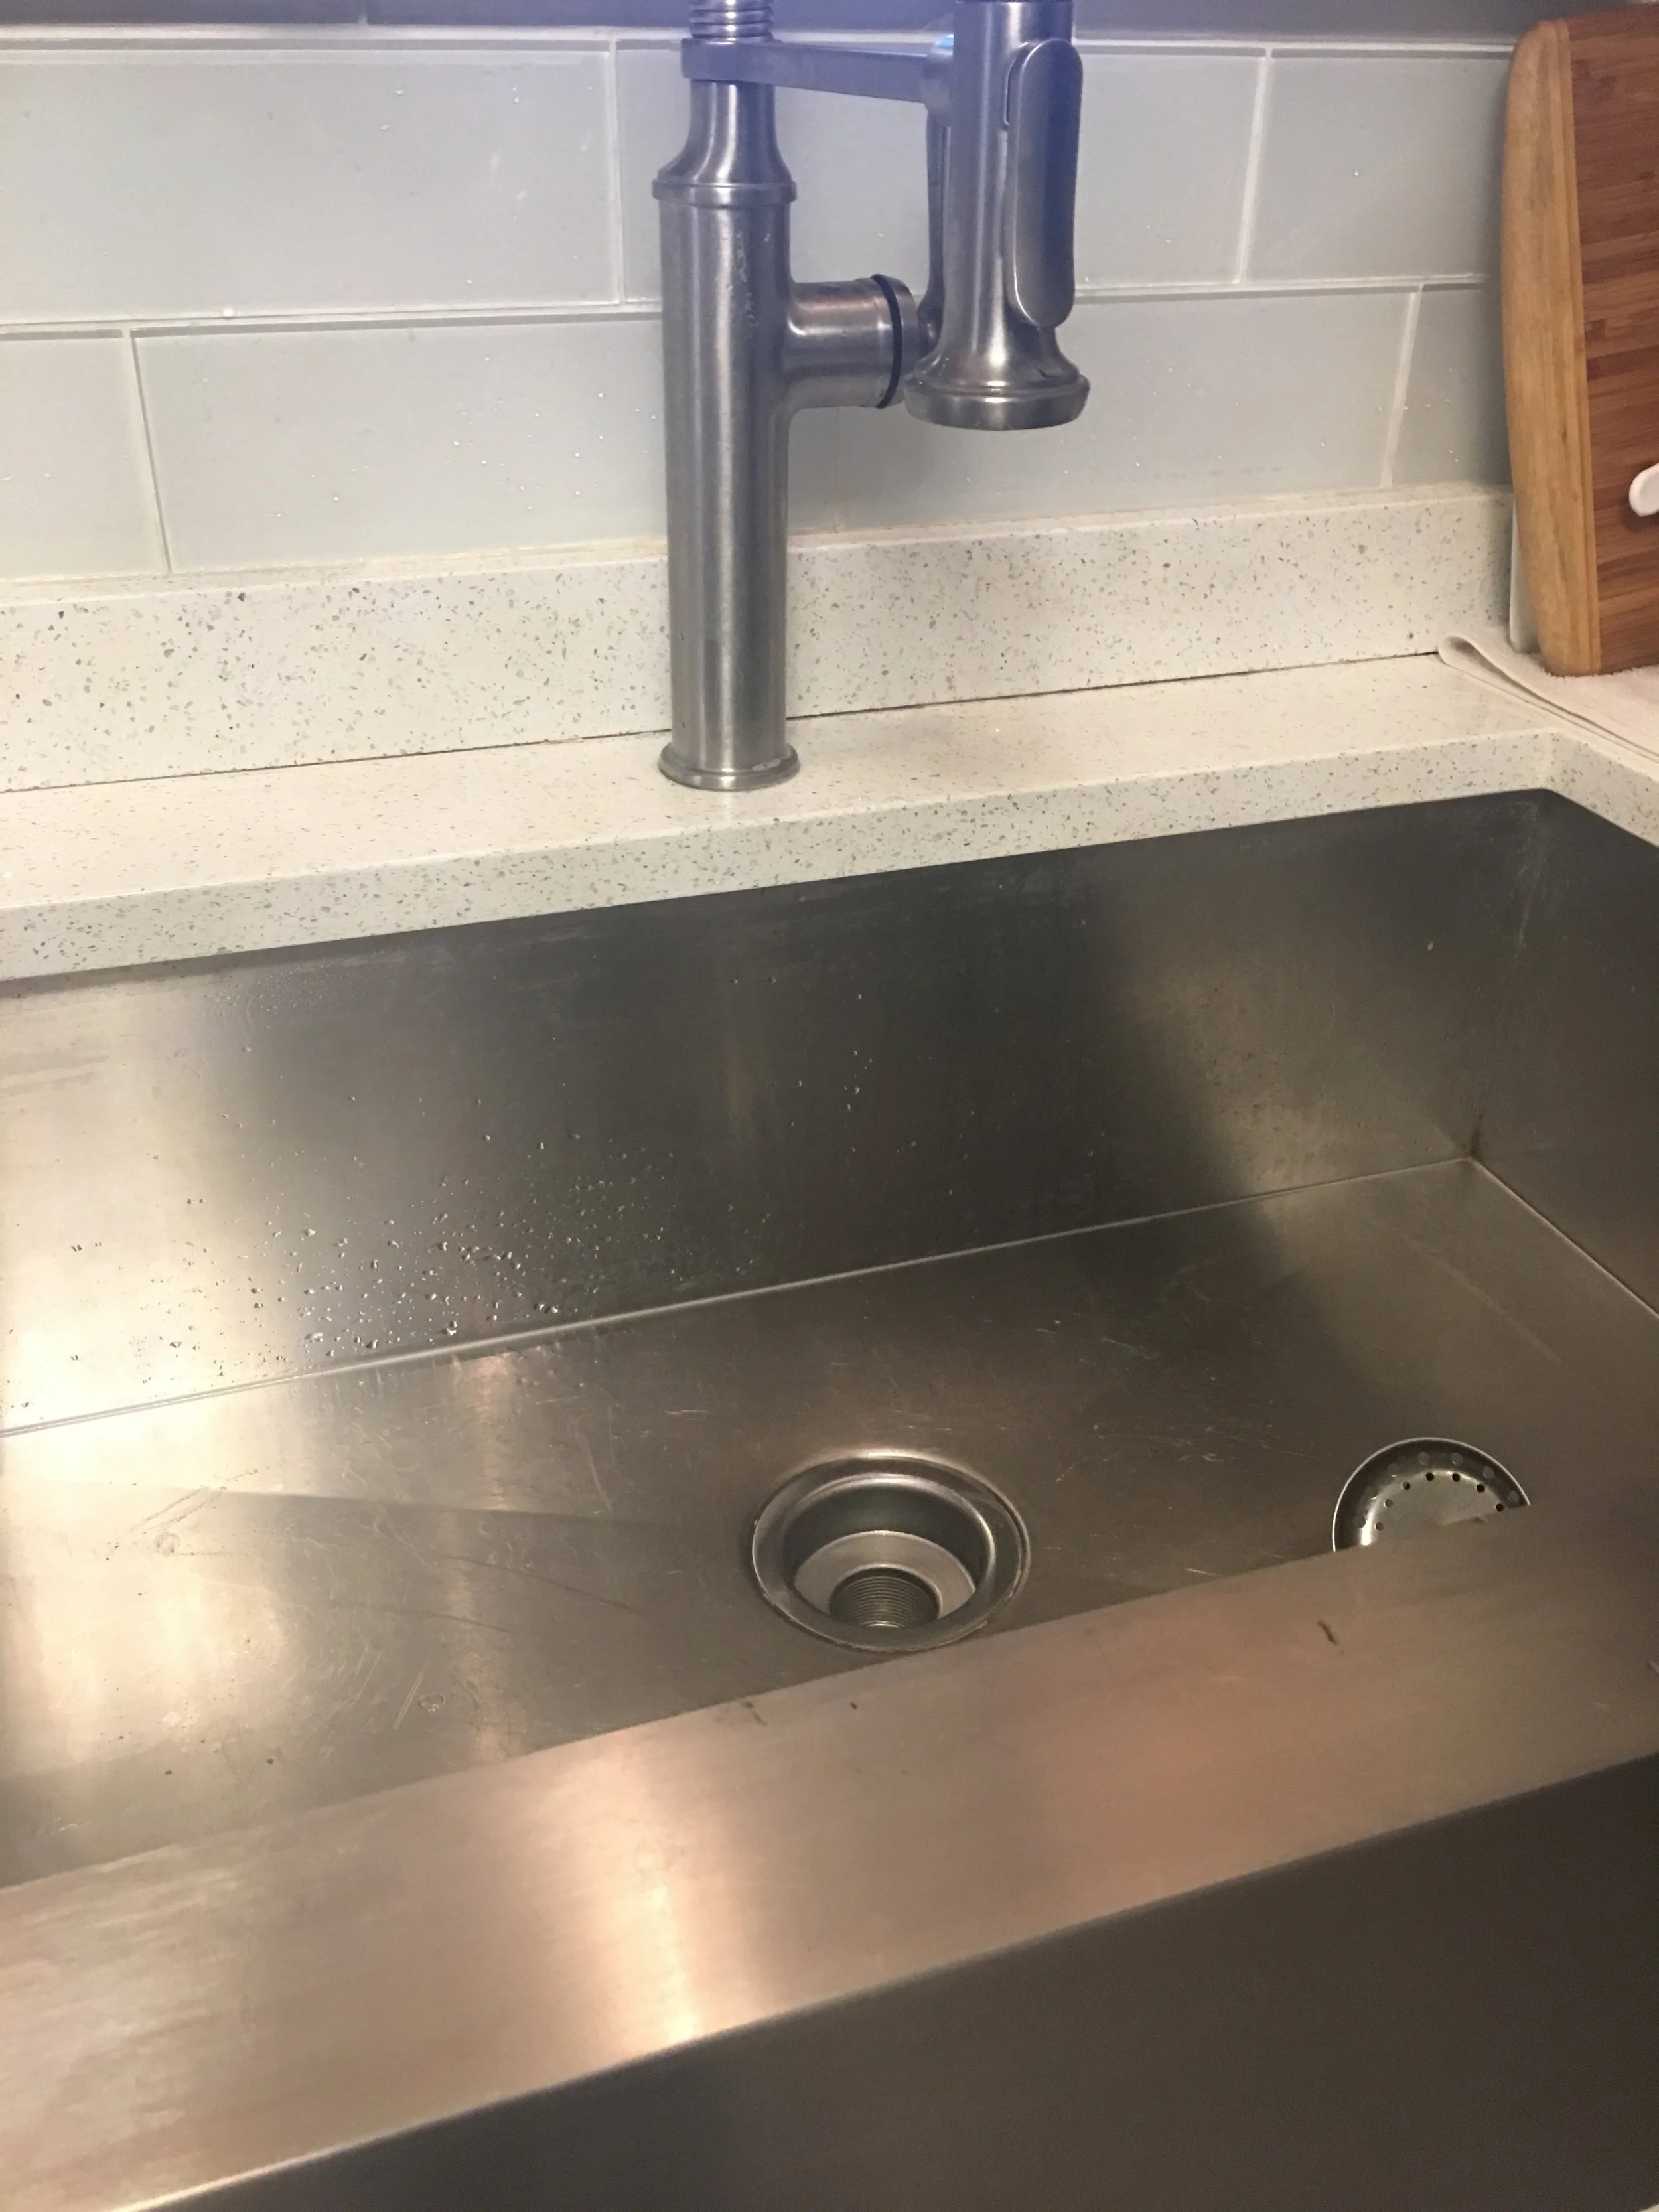
If you like your things to run and work smoothly, you need to maintain them. Your kitchen sink drain needs maintenance. It’s very easy to maintain your kitchen sink drain. 

1. 1/2 cup of baking soda

2. 1/2 cup of vinegar

3. Lemon juice

Let the baking soda and vinegar sit for 30 minutes, then add the lemon juice. Give it a few minutes, then rinse. Follow these steps once a month, and you should have a very happy kitchen sink drain.  

Watch the video below to see how easy it is to maintain your kitchen sink drain.